Installing DIY Solar Panels: The Complete 2025 Guide
The installation of DIY solar panels is experiencing remarkable growth in 2025. Faced with rising energy costs and growing environmental concerns, more and more individuals are turning to self-produced electricity. According to the latest data, the French residential photovoltaic market grew by 18% in 2024, with a growing share of installations carried out by homeowners themselves.
This approach to solar self-consumption offers undeniable economic advantages:- Savings on professional installation costs
- Significant reduction in electricity bills
- Possibility of selling surplus energy
However, a DIY photovoltaic installation requires specific technical skills and strict adherence to safety standards.
This guide details all the steps to successfully complete your autonomous solar installation project, from preliminary calculations to administrative procedures, including crucial technical aspects.

Assessment and Sizing of Your Installation
Analyze Your Energy Needs
The first step is to assess your annual electricity consumption. Consult your bills from the last 12 months to obtain your consumption in kWh. An average French family consumes between 3,000 and 5,000 kWh per year according to ADEME.
To correctly size your installation, consider these key factors:- Average daily consumption
- Consumption profile (peaks during the day or in the evening)
- Future evolution of needs (electric vehicle, swimming pool)
"A well-sized photovoltaic installation ideally covers 70 to 80% of the household's energy needs, thus optimizing return on investment." - Official Guide of the Ministry of Ecology
Choose the Optimal Power
The correct sizing of your installation depends on several parameters. For a consumption of 4,000 kWh/year, a 3 kWp (kilowatt-peak) installation will generally be sufficient in most French regions.
The required power is calculated using the formula: Annual consumption (kWh) ÷ Local sunshine (equivalent full sun hours) = Required power (kWp).
In 2024, the average French sunshine varies from 1,100 hours in the North to 1,600 hours in the South, directly influencing the production of your installation.
| Sizing Parameter | Description |
|---|---|
| Annual Consumption | Based on 12 months of bills |
| Local Sunshine | Varies from 1100h (North) to 1600h (South) |
| Required Power | kWp needed to cover needs |
Regulatory Aspects and Administrative Procedures
Legal Obligations and Standards to Respect
DIY photovoltaic installations must imperatively comply with several standards. The NF C15-100 standard governs domestic electrical installations, while the UTE C15-712 guide specifies the requirements for photovoltaic installations.
Installations under 3 kWp require:- Prior declaration to the town hall
- CONSUEL certificate for grid connection
- Self-consumption agreement with Enedis
For installations over 3 kWp, a building permit may be required depending on your municipality.
Procedures with Enedis
Connecting to the electricity grid involves several steps with Enedis. You must submit a connection request accompanied by the electrical diagram of the installation and the certificate of conformity.
Processing times vary between 2 and 6 months depending on the complexity of the file. In 2024, Enedis processed over 162,000 new photovoltaic connection requests, demonstrating growing enthusiasm.
Preparation and Physical Installation
Roof Assessment and Preparations
The orientation and inclination of the roof are crucial for efficiency. South orientation with an inclination of 30 to 35° offers optimal performance. A southeast or southwest orientation remains acceptable with a performance loss of less than 10%.
Check the structural soundness of your roof: it must support an additional 15 to 20 kg/m². The absence of shading (trees, neighboring buildings) is also essential to maximize production.
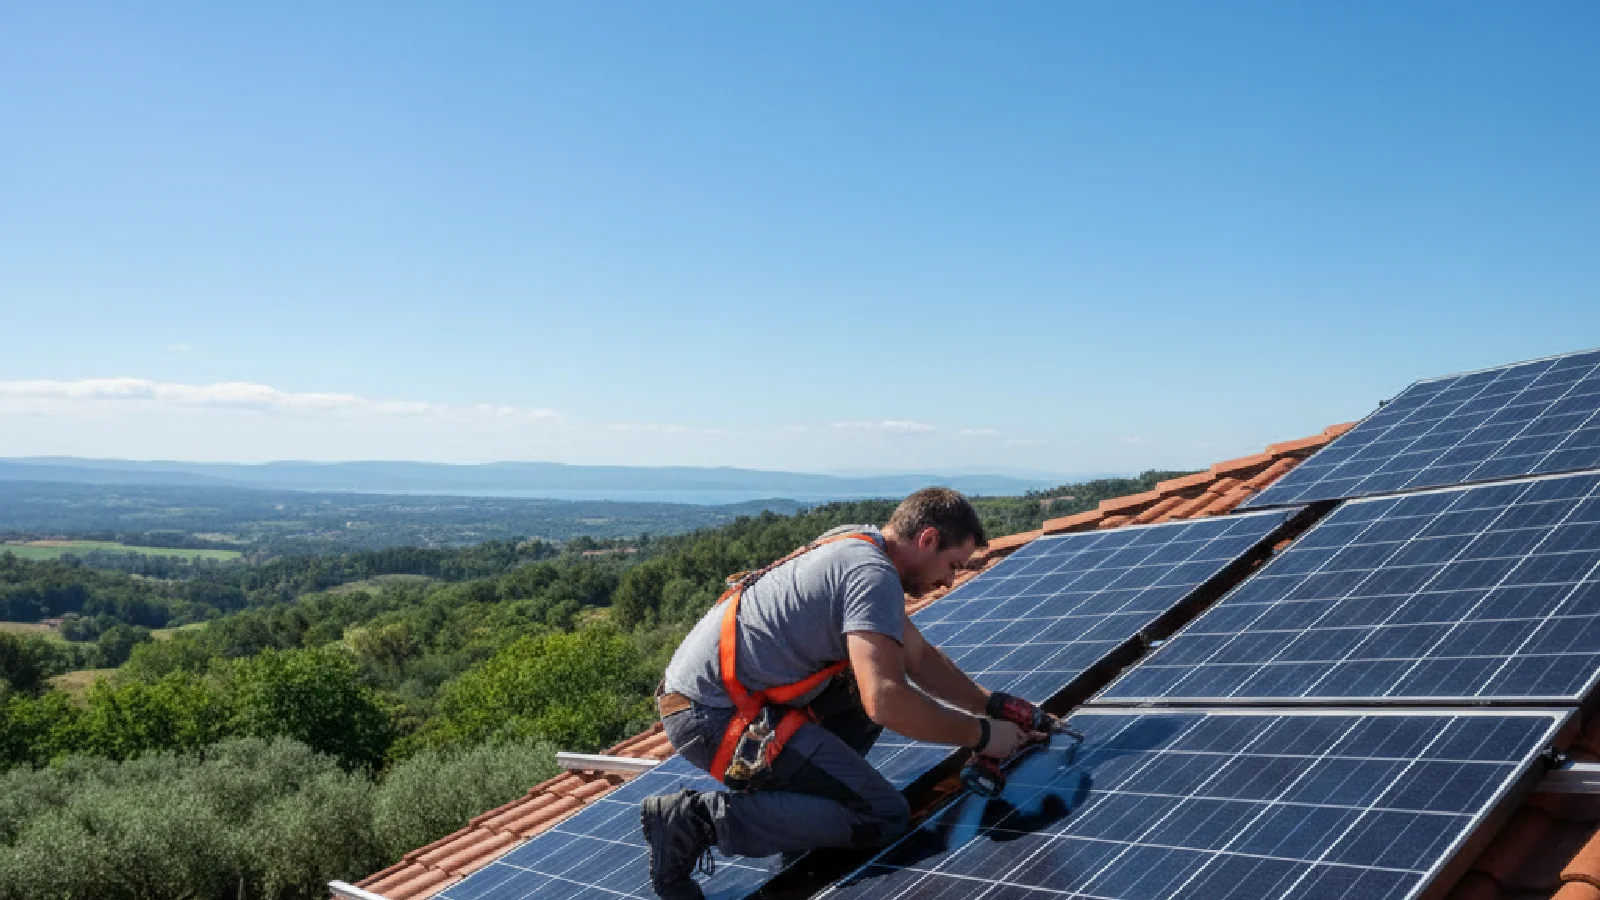
Installation of Supports and Fasteners
The installation of solar panels requires supports adapted to the type of roof. For a tiled roof, use specific hooks fixed to the rafters.
Installation steps include:- Precise marking of fixing points
- Drilling with a bit adapted to the material
- Sealing of drillings with silicone sealant
- Fixing of support rails
Maintain a spacing of 1.2 to 1.5 meters between the rails to ensure optimal load distribution.
Panel Installation and Connection
Handling panels requires caution and safety equipment. Use a harness and work in dry weather. Each panel generally weighs between 18 and 22 kg.
Electrical connection is made via waterproof MC4 connectors. It is imperative to respect the polarity: panels are connected in series to add voltages, or in parallel to add currents.
Electrical Connection and Commissioning
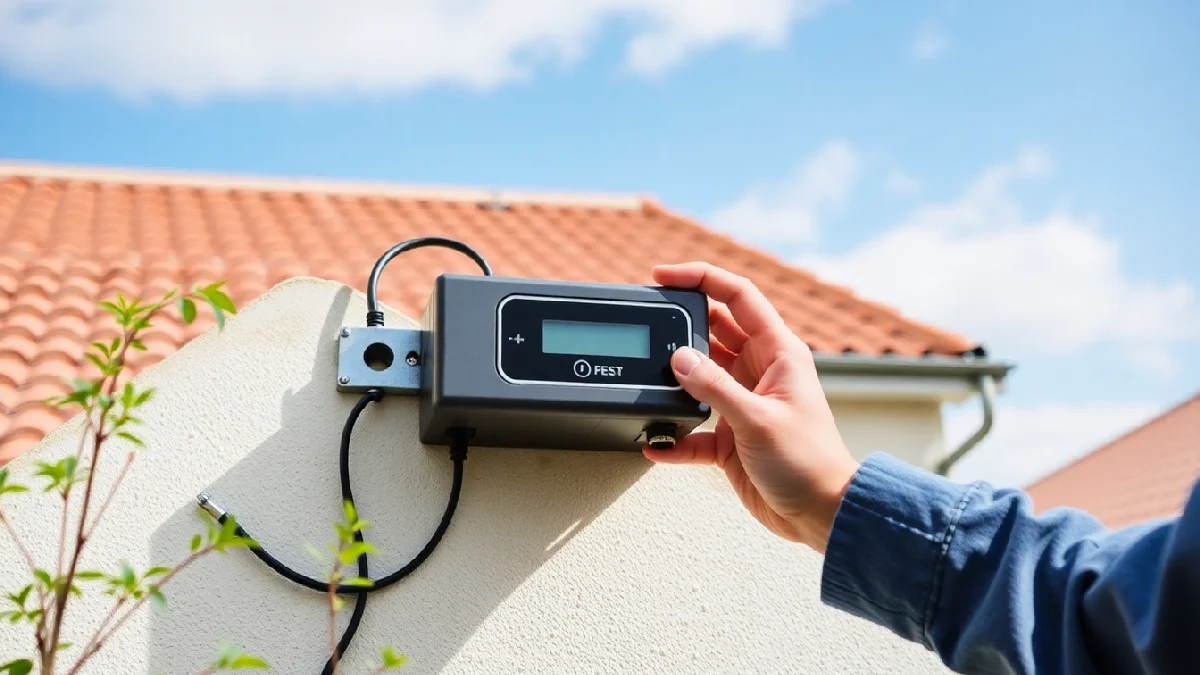
Inverter and Electrical Panel Installation
The photovoltaic inverter converts the direct current from the panels into alternating current compatible with the domestic grid. Install it in a ventilated area, protected from humidity and extreme temperatures.
Connection to the electrical panel requires:- A dedicated 30 mA differential circuit breaker
- A production meter (mandatory for resale)
- An accessible emergency shut-off device
To optimize your installation, consider adding a lithium battery storage system which maximizes self-consumption.
Tests and Safety Checks
Before powering up, perform several essential checks. Verify the continuity of wiring, the insulation of the installation (resistance > 1 MΩ), and the polarity of connections.
Test the inverter's operation and check the display of production parameters. Safety measures include verifying the proper functioning of differential and emergency shut-off devices.
In 2024, new-generation inverters integrate monitoring systems allowing real-time tracking via smartphone, facilitating the detection of anomalies.
Optimization and Maintenance of the Installation
Maximize Production and Self-Consumption
Optimizing self-consumption involves adapting consumption habits to solar production hours. Program your household appliances (washing machine, dishwasher) during peak sunshine hours.
Smart management systems automate this process. In 2024, these solutions increased the self-consumption rate by 15 to 25% according to ADEME.
The integration of emerging technologies like sodium-ion batteries opens new perspectives for residential energy storage.
Maintenance and Monitoring
Preventive maintenance of your photovoltaic installation remains minimal but essential. Clean the panels 2 to 3 times a year with demineralized water and a non-abrasive squeegee.
Regularly monitor:- Production performance via the inverter interface
- The condition of cables and connections
- The proper functioning of safety devices
A well-maintained installation retains 85 to 90% of its initial capacity after 20 years of operation.
Conclusion
Installing DIY solar panels represents an exceptional opportunity for individuals wishing to engage in the energy transition while realizing substantial savings. With a methodical approach and strict adherence to safety standards, this endeavor becomes accessible to any informed DIY enthusiast.
The benefits are numerous: reduction of electricity bills by up to 70%, enhancement of real estate value, and active contribution to environmental protection. In 2025, with favorable developments in purchase tariffs and maintained public aid, the return on investment for a DIY installation is generally between 8 and 12 years.
The future of residential photovoltaics is moving towards increasingly integrated and intelligent solutions. Ongoing technological developments, particularly in energy storage and automated management, promise new optimization possibilities for existing installations.